I think most of my regular opponents would go with the "or what?" assessment. Still, sometimes you get it right.
This week's Monday Night game was just me & Will. As my painting schedule is going really well I can now field quite large Armati Neo-Assyrian and Neo-Babylonian armies (I can probably get up to about a 100 points a side, but we used 85 each). For those of you with Armati knowledge we were playing with light and skirmish infantry as two section wide units, rather than the normal 1. This stops them being the total cavalry and chariot destroyers they normally are in Biblical games, ruining it for everyone.

Will chose the Babylonians. They have slightly weaker infantry, but more chariots. And loads more light troops. I haven't done any camels for them yet. Having problems finding a source for 20mm plastic arabs. When the deployment curtain was pulled back (well, unpegged, to be honest) Will had a strong chariot presence on his left wing, with cavalry on the right. Both were screened by light troops. In the centre he had deployed the traditional heavy infantry block.

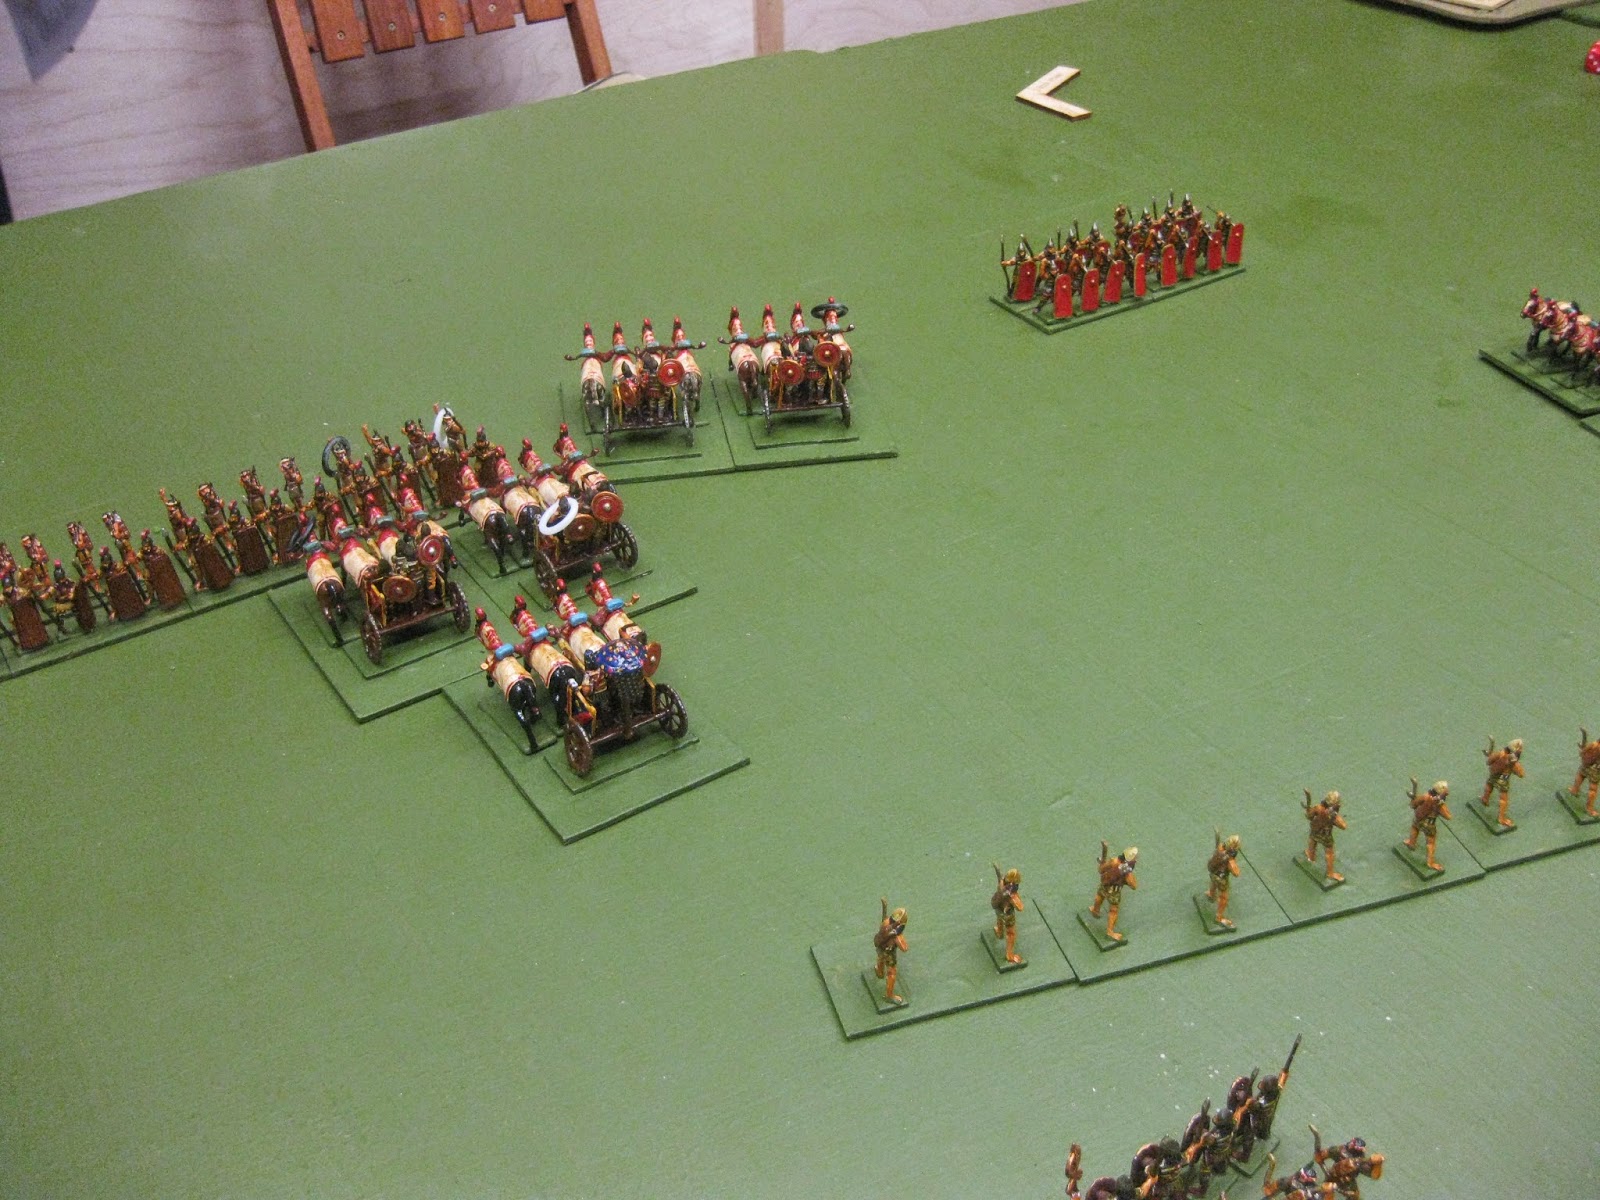
I, on the other hand, did something quite radical and followed what the Assyrians sort of did. I put cavalry out on my right, but massed my chariots in the centre, masked by skirmishers. My left was held by light infantry, and my heavy infantry line was split into two divisions to give me a bit of flexibility. The grand plan was to hit the centre of Will's line with my chariots. These have impetus against heavy infantry and crucially against Babylonians are the equals of their bow armed units in combat factor to the front. Adding my General would give me a slight advantage, and screening with skirmishers would protect me from archery as I charged in.
I think Will was a bit non-plussed by my deployment. Chariots in the central zone. What madness is this? So, turn one I lose the initiative (bit of a theme for the evening) and move first. I pushed ahead in the middle with chariots and infantry, and hung back on the flanks, refusing them both.

I lost the initiative again in turn two, and was obliged to go first, so I carried on with the headlong advance.

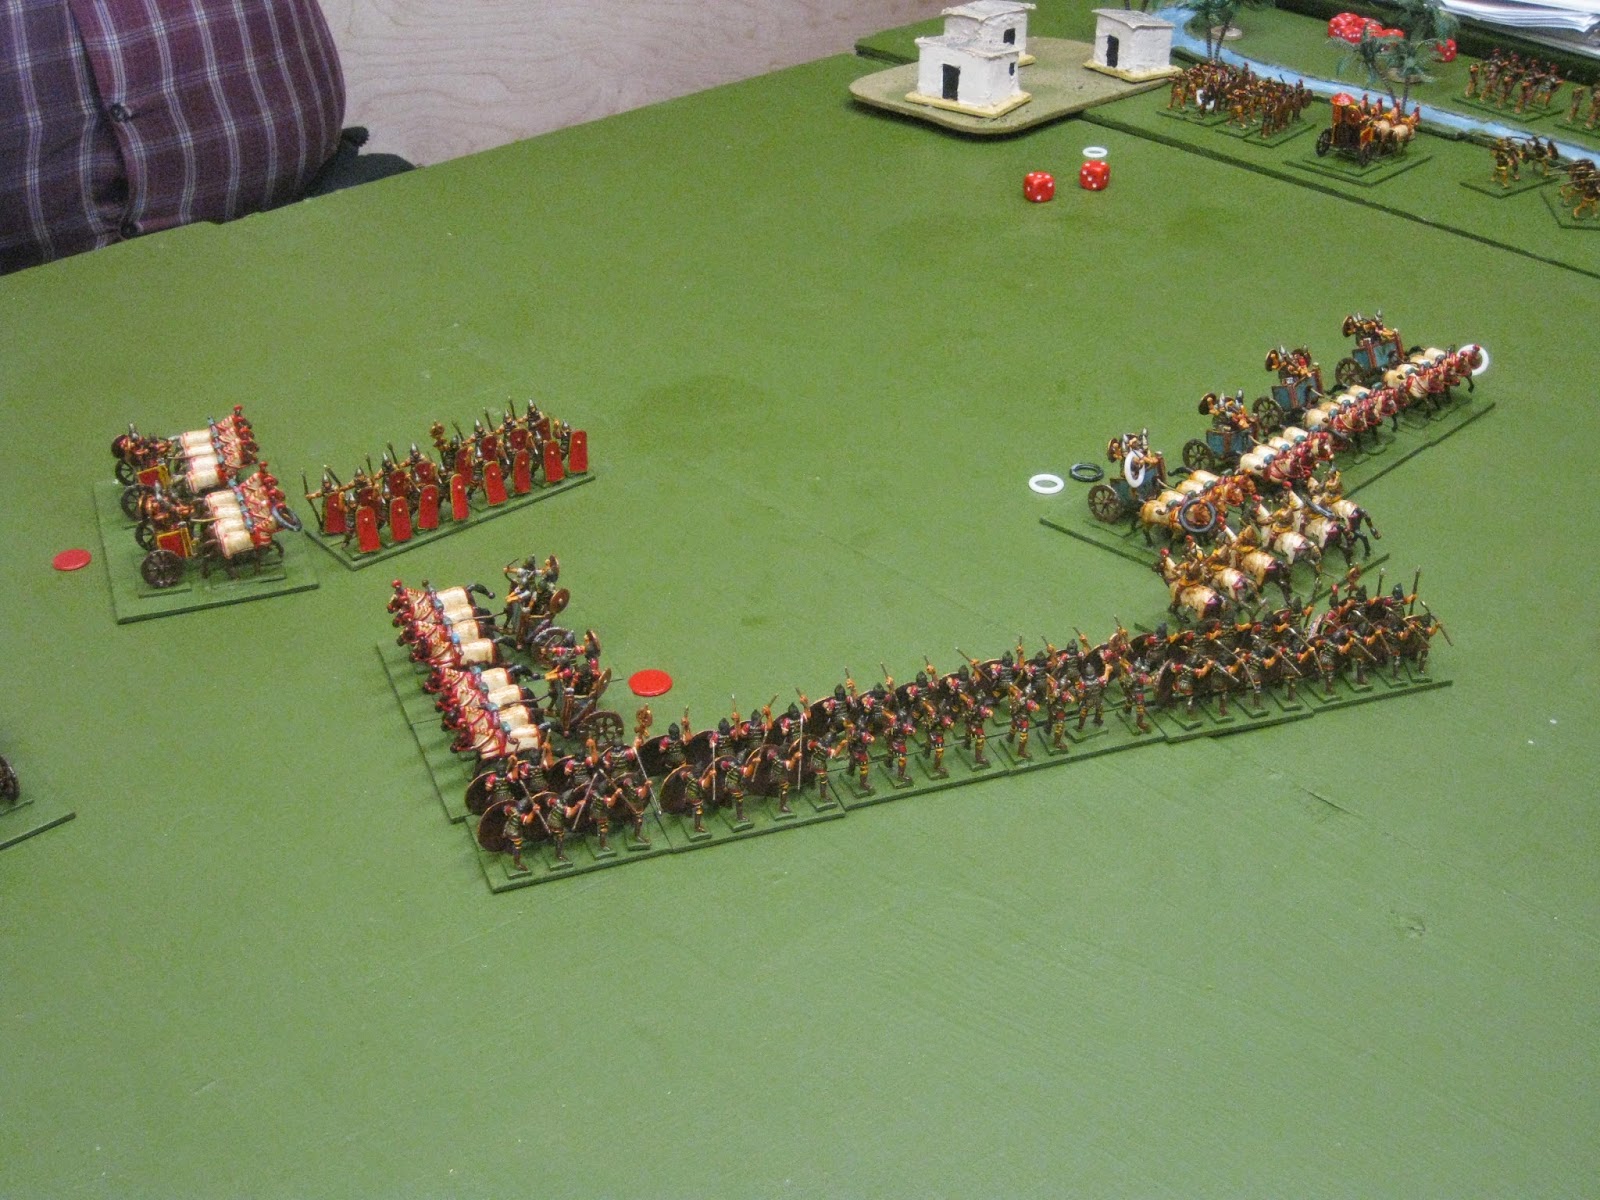
Will's response was to threaten my central advance with his outlying chariots. Alas for him his single chariot unit was on his extreme left. He didn't want to wheel his bigger chariot unit across as this would have opened up a big hole at the end of his line for my cavalry to exploit. This became the crux of the battle. Could I destroy the centre of his infantry line before these flanking chariots rolled up my attacking force? To speed them on their way Will did a Complex Manoeuvre to get the unit round, - hence the red counter you can see below.

Will just kept winning the initiative, so he took a back to back move effectively to get his single chariot unit across the front of his double unit and out of the way of my cavalry I had brought up to threaten their flank.

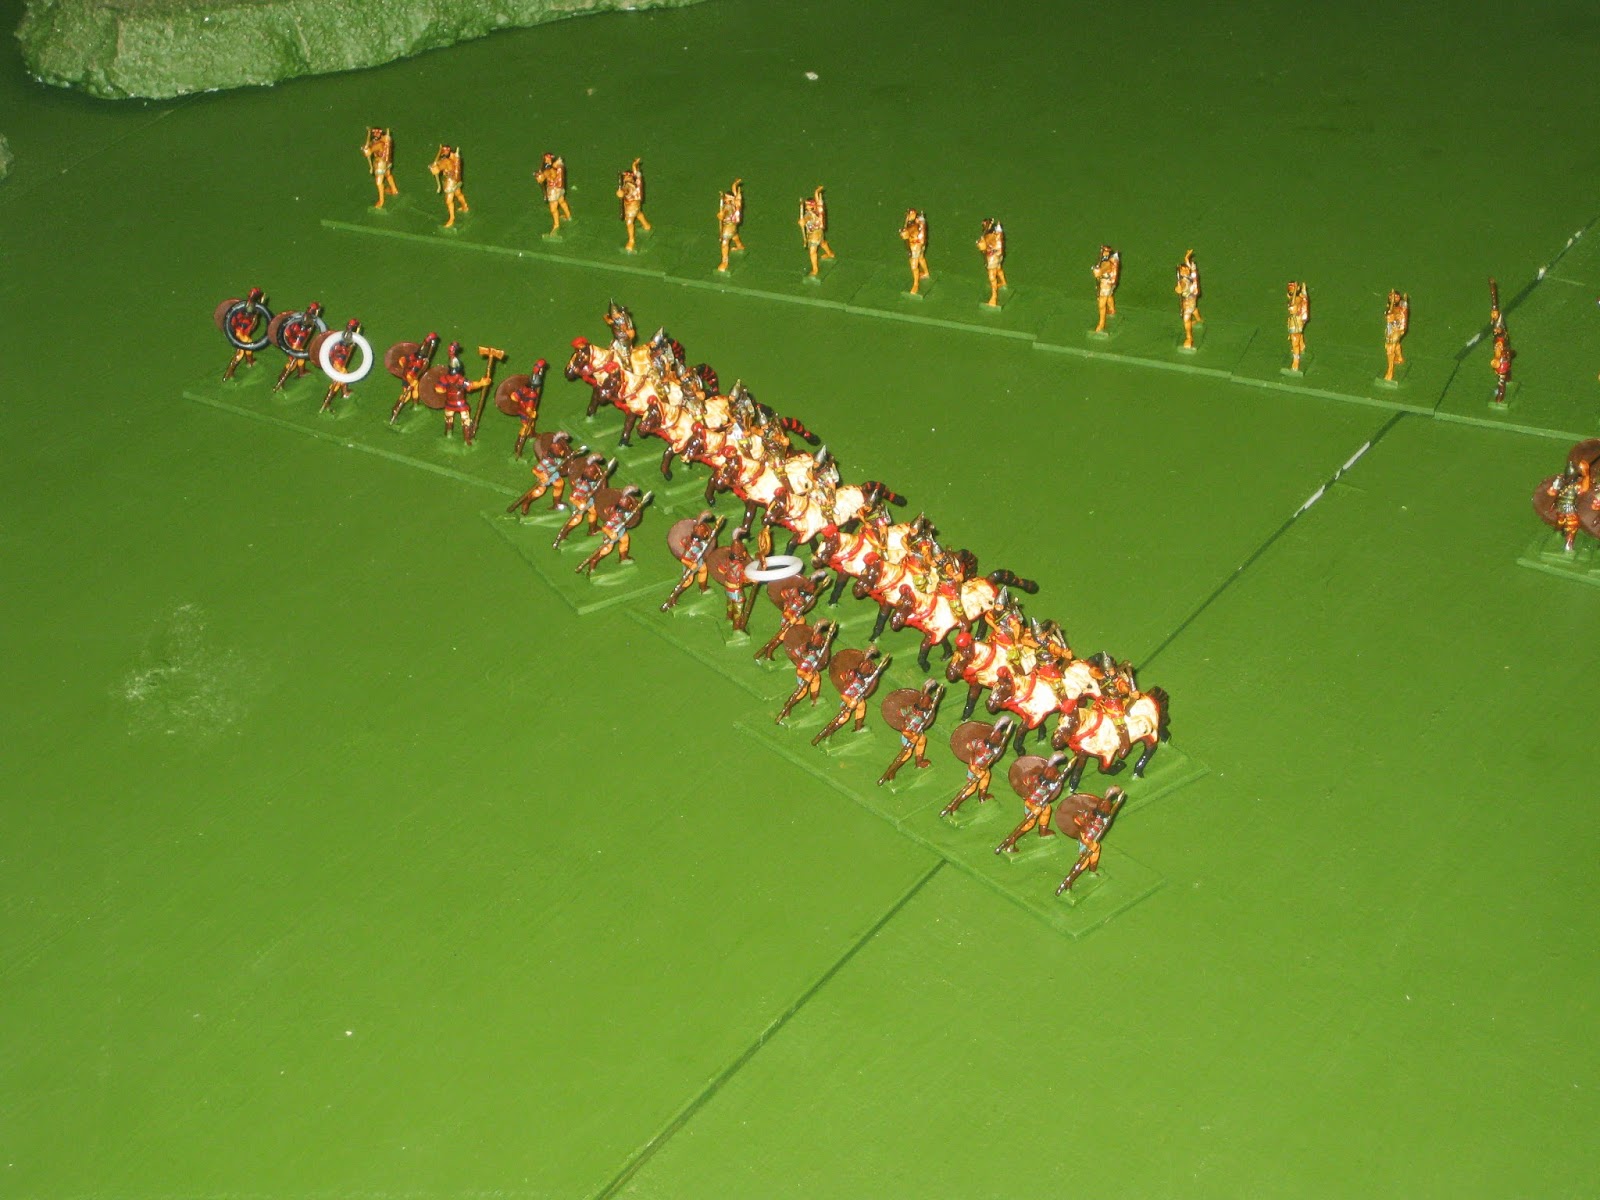
As you can see my cavalry just missed the flank of Will's crossing chariots and hit the big chariot unit, after splitting with a clip on the covering light division. It isn't clear from these pictures that Will had an enforced divisional split as I shot out the middle of the light division (the cavalry are bow armed). This was to prove important as it reduced his opportunities to do the splits he actually wanted (like flanking me with the chariot overlap).

In the middle the chariots crashed home, and I had my fingers well and truly crossed. I had contacted three units in total, increasing my chances of an impetus breakthrough. By deploying like this and only ever intending the chariots to go straight forward I was able to have two Heavy Infantry divisions. You can see I have wheeled the right hand one slightly to cover their flank if there's a breakthrough on my right.

The chariots pay off in spades. Rolling fairly high in combat they break two infantry units with their charge and create a lovely big hole. Will's General is also swept away in the ensuing rout.
A quick breakthrough move and that isolated infantry unit is looking a bit lonely and vulnerable.
I think there's a move's photographs missing (my chariots at the top of the screen have acquired a Complex Manoeuvre marker before charging home). Anyway, I finally won a couple of initiative rolls and was able to catch those chariots in the flank before they got past the end of my line (in Armati Heavy Infantry can charge chariots/mounted if within 2" and/or if the chariots don't have impetus. I had him on both counts.
Some news from the other flank. My light infantry had been sufficiently effective at delaying Will's cavalry that they were never a threat. Otherwise a complete non-event as far as determining the outcome of the battle.

And the final turn. What's missing from this picture are Will's infantry and chariots, both caught in the flanks. That's game over.
Rarely does a plan go as well as expected, despite losing most of the initiative rolls. True, I was lucky with my dice rolls with the chariot charges, but with my General involved I had a better than 50% chance of breaking at least one unit, and about 40% chance of breaking two units. Giving myself extra flexibility with the infantry divisions (which NO ONE does in Armati) paid off too, as I stuffed the flanks with cavalry and light infantry to stop them being flanked. All in all very satisfactory.
Now, about those camels....
This week's Monday Night game was just me & Will. As my painting schedule is going really well I can now field quite large Armati Neo-Assyrian and Neo-Babylonian armies (I can probably get up to about a 100 points a side, but we used 85 each). For those of you with Armati knowledge we were playing with light and skirmish infantry as two section wide units, rather than the normal 1. This stops them being the total cavalry and chariot destroyers they normally are in Biblical games, ruining it for everyone.

Will chose the Babylonians. They have slightly weaker infantry, but more chariots. And loads more light troops. I haven't done any camels for them yet. Having problems finding a source for 20mm plastic arabs. When the deployment curtain was pulled back (well, unpegged, to be honest) Will had a strong chariot presence on his left wing, with cavalry on the right. Both were screened by light troops. In the centre he had deployed the traditional heavy infantry block.

I, on the other hand, did something quite radical and followed what the Assyrians sort of did. I put cavalry out on my right, but massed my chariots in the centre, masked by skirmishers. My left was held by light infantry, and my heavy infantry line was split into two divisions to give me a bit of flexibility. The grand plan was to hit the centre of Will's line with my chariots. These have impetus against heavy infantry and crucially against Babylonians are the equals of their bow armed units in combat factor to the front. Adding my General would give me a slight advantage, and screening with skirmishers would protect me from archery as I charged in.
I think Will was a bit non-plussed by my deployment. Chariots in the central zone. What madness is this? So, turn one I lose the initiative (bit of a theme for the evening) and move first. I pushed ahead in the middle with chariots and infantry, and hung back on the flanks, refusing them both.

I lost the initiative again in turn two, and was obliged to go first, so I carried on with the headlong advance.

Will's response was to threaten my central advance with his outlying chariots. Alas for him his single chariot unit was on his extreme left. He didn't want to wheel his bigger chariot unit across as this would have opened up a big hole at the end of his line for my cavalry to exploit. This became the crux of the battle. Could I destroy the centre of his infantry line before these flanking chariots rolled up my attacking force? To speed them on their way Will did a Complex Manoeuvre to get the unit round, - hence the red counter you can see below.

Will just kept winning the initiative, so he took a back to back move effectively to get his single chariot unit across the front of his double unit and out of the way of my cavalry I had brought up to threaten their flank.

As you can see my cavalry just missed the flank of Will's crossing chariots and hit the big chariot unit, after splitting with a clip on the covering light division. It isn't clear from these pictures that Will had an enforced divisional split as I shot out the middle of the light division (the cavalry are bow armed). This was to prove important as it reduced his opportunities to do the splits he actually wanted (like flanking me with the chariot overlap).

In the middle the chariots crashed home, and I had my fingers well and truly crossed. I had contacted three units in total, increasing my chances of an impetus breakthrough. By deploying like this and only ever intending the chariots to go straight forward I was able to have two Heavy Infantry divisions. You can see I have wheeled the right hand one slightly to cover their flank if there's a breakthrough on my right.

The chariots pay off in spades. Rolling fairly high in combat they break two infantry units with their charge and create a lovely big hole. Will's General is also swept away in the ensuing rout.

A quick breakthrough move and that isolated infantry unit is looking a bit lonely and vulnerable.

I think there's a move's photographs missing (my chariots at the top of the screen have acquired a Complex Manoeuvre marker before charging home). Anyway, I finally won a couple of initiative rolls and was able to catch those chariots in the flank before they got past the end of my line (in Armati Heavy Infantry can charge chariots/mounted if within 2" and/or if the chariots don't have impetus. I had him on both counts.

Some news from the other flank. My light infantry had been sufficiently effective at delaying Will's cavalry that they were never a threat. Otherwise a complete non-event as far as determining the outcome of the battle.

And the final turn. What's missing from this picture are Will's infantry and chariots, both caught in the flanks. That's game over.
Rarely does a plan go as well as expected, despite losing most of the initiative rolls. True, I was lucky with my dice rolls with the chariot charges, but with my General involved I had a better than 50% chance of breaking at least one unit, and about 40% chance of breaking two units. Giving myself extra flexibility with the infantry divisions (which NO ONE does in Armati) paid off too, as I stuffed the flanks with cavalry and light infantry to stop them being flanked. All in all very satisfactory.
Now, about those camels....
Comments
Post a Comment